💡 Practical Usage Tips
- For articulated arms, the internal gas spring tension usually arrives set to maximum resistance, so users must adjust the hex bolt counter-clockwise to match the weight of lighter monitors.
- When installing a clamp-based mount on a thin or particle-board desk, it is advisable to use a reinforcement plate to distribute the pressure and prevent surface deformation.
- To prevent large television screens from tilting forward over time, the vertical pitch adjustment bolts on the VESA brackets should be torqued slightly beyond hand-tightness during the initial assembly.
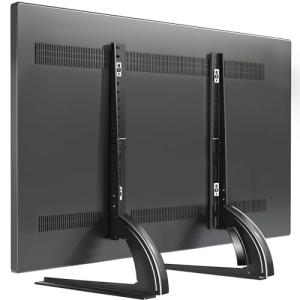
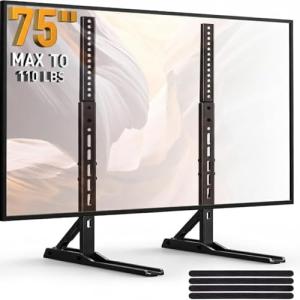
- Users employing free-standing glass bases should ensure the desk depth is sufficient to accommodate the full footprint of the stand, as overhangs can dangerously shift the center of gravity.
✅ What to Look For & ⚠️ What to Avoid
Must-Have Features
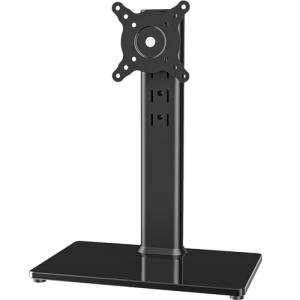
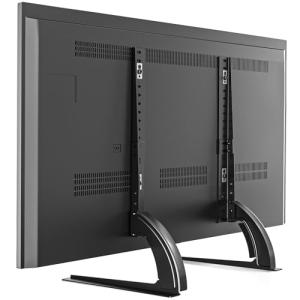
- Look for a tempered glass base if you cannot use a desk clamp, as the heavy substrate provides essential ballast weight for stability.
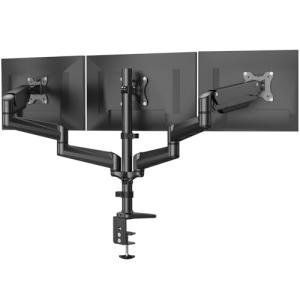
- Prioritize mounts with integrated cable management channels to protect power and signal cords from strain during screen rotation.
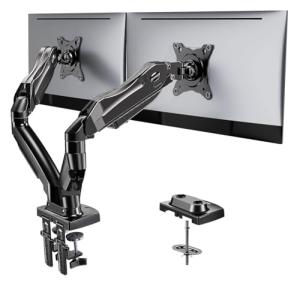
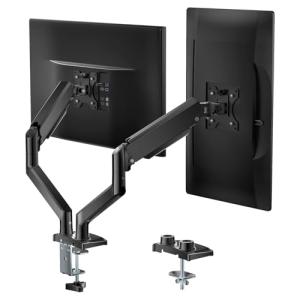
- Select a model with a proven counterbalance system, such as the HUANUO Dual Monitor Stand, if you plan to adjust your screen height frequently throughout the day.
- Ensure the mounting plate supports standard VESA patterns like 100x100mm or 400x400mm to guarantee compatibility with the majority of modern displays.
Red Flags to Avoid
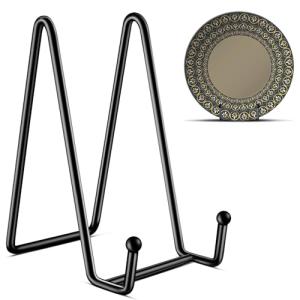
- Avoid lightweight wire stands for items deeper than 3 inches, as they lack the mechanical leverage to prevent tip-over events.
- Be cautious of friction hinge mounts that do not offer tension adjustment screws, as they will inevitably loosen and droop after repeated use.
- Steer clear of stands with plastic central pillars for screens over 40 inches, as cold-rolled steel is necessary to resist shearing forces.
- Do not ignore weight capacity ratings; exceeding the limit on a gas-spring arm will cause the monitor to sink immediately regardless of tension adjustments.
🛡️ Build Quality & Performance
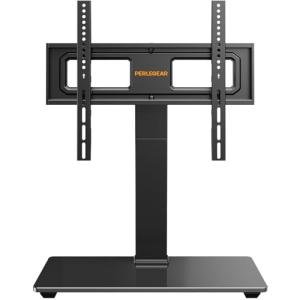
The durability of a display mount is largely determined by the materials used in its chassis and the engineering of its articulation points. High-quality units typically utilize cold-rolled steel for the vertical pillars and arms, ensuring that the structure remains rigid even under maximum static loads. For free-standing models, the base material is critical; heavy-duty options often employ 8mm or 10mm thick tempered glass to create a low center of gravity, which acts as a counterweight against the leverage of large screens. This approach is evident in robust solutions like the Perlegear Swivel TV Stand, which combines a steel core with a glass substrate to maintain vertical alignment.
In contrast to static stands, ergonomic arms rely on complex internal mechanisms to function. Premium models use nitrogen-charged gas spring cylinders that allow for zero-gravity movement, enabling the user to lift or lower the display with a single finger. Cheaper alternatives often depend on simple bolt-and-washer compression, which functions well for fixed positions but suffers from mechanical drift if adjusted too frequently. Whether choosing a static pedestal or a dynamic arm, checking for the presence of tension-adjustment hardware is key to ensuring the product can be calibrated to specific device weights over its lifespan.
🏆 Top Recommendations
| Best For |
Model Name |
Key Feature |
Why It Wins |
| TV Flexibility |
Perlegear Swivel Stand |
70° Horizontal Swivel |
Allows for significant viewing angle adjustments on large TVs without moving the base. |
| Dual Monitors |
HUANUO Dual Arm |
Gas Spring System |
Provides fluid, independent height adjustment for two screens up to 27 inches. |
| Heavy Single Screens |
Hemudu Free-Standing |
44lb Capacity |
Uses a massive 10mm glass base to support heavy monitors without clamping to the desk. |
| Tablets |
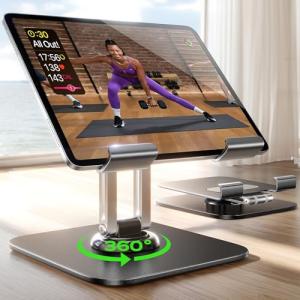
Lisen Adjustable Holder |
High-Torque Hinges |
Dual-axis rotation and a weighted base keep larger tablets stable during touch interaction. |
| Ergonomic Upgrade |
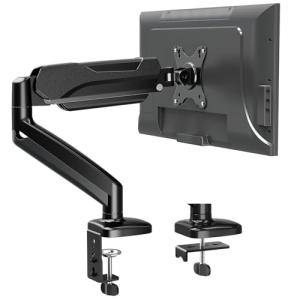
MOUNTUP 32-Inch Arm |
Gas-Strut Articulation |
Reclaims desk space and offers smooth vertical travel for screens up to 32 inches. |
❓ Frequently Asked Questions
Why does my monitor keep drooping?
This usually happens because the tension bolt on the tilt mechanism is too loose. You need to locate the hex bolt near the hinge and increase the torque until the joint provides enough friction to hold the screen's weight.
Can I install a clamp mount on a glass desk?
It is generally unsafe to attach a C-clamp directly to a glass desk, as the concentrated pressure can shatter the surface. If you must use one, a reinforcement plate is required to spread the load, but a free-standing base is the safer option.
What is VESA compatibility?
VESA refers to the standard pattern of mounting holes on the back of a display, measured in millimeters (e.g., 100x100mm). The holes on your monitor must match the pattern on the mount's plate for them to connect securely.
Is a gas spring better than a mechanical arm?
A gas spring arm is superior if you need to change the height of your monitor frequently, as it moves smoothly. A mechanical arm is better for "set it and forget it" setups where the screen stays in one position permanently.